
![]()
|
|
|
|
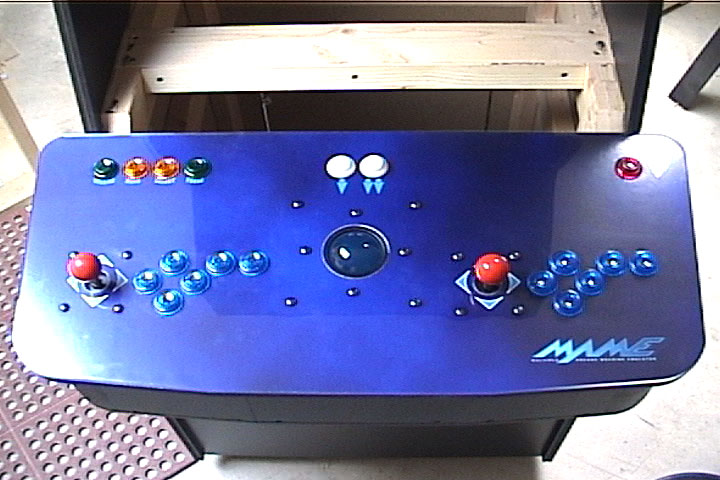
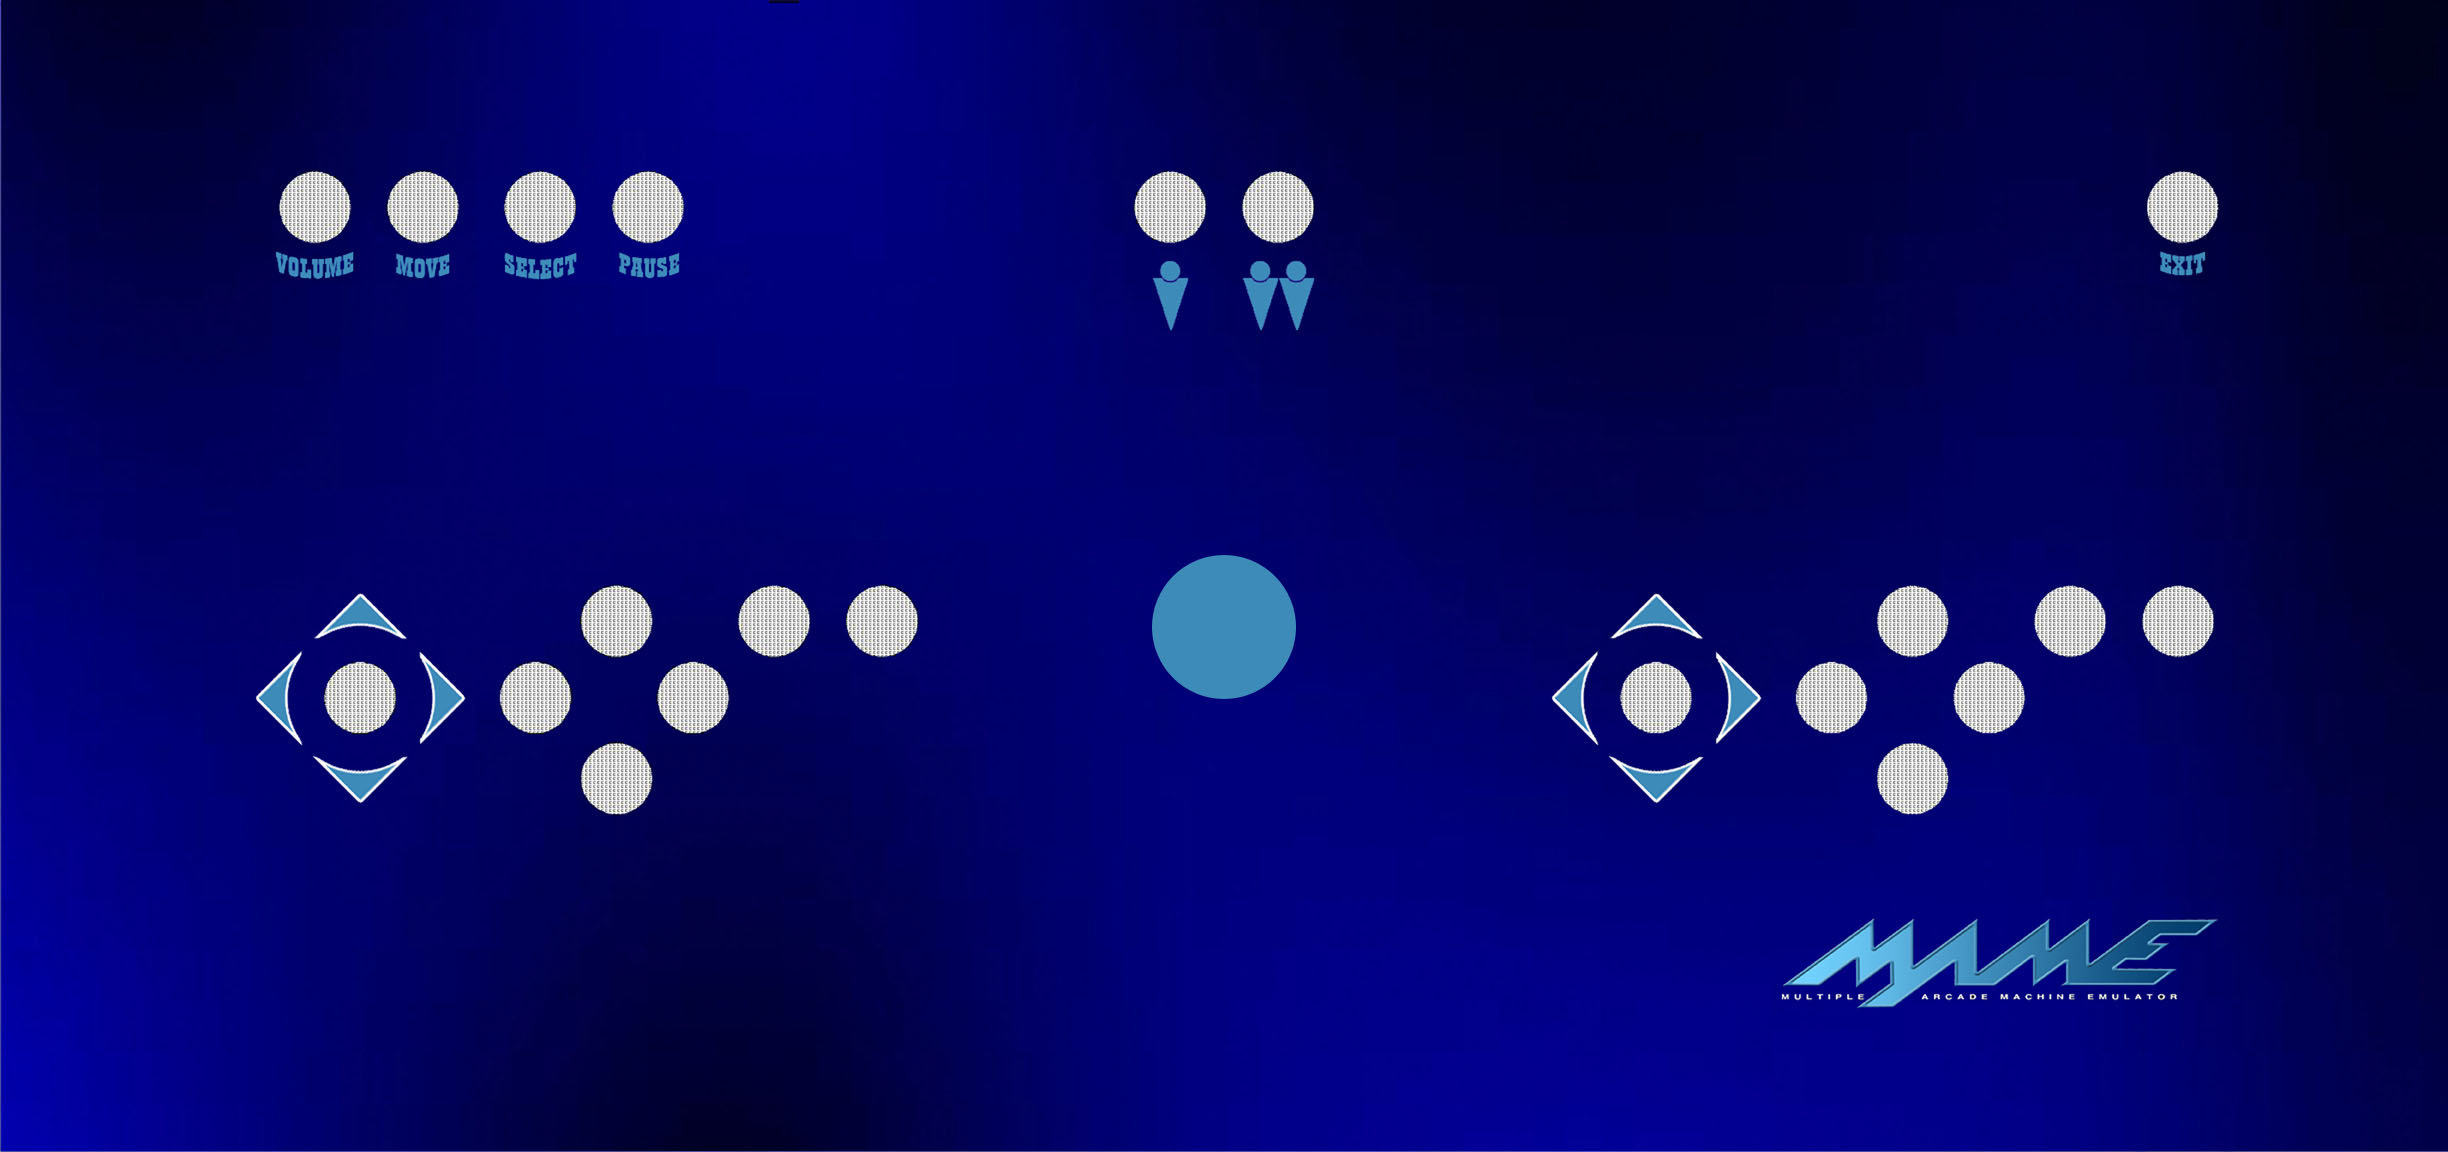
The CONTROLS!
This part of the project turned out to be the hardest instead of the easiest. I thought to myself, it's only buttons a couple joysticks and a trackball no sweat! Yeah right... Seeing as I had never built an arcade before I wasn't sure what or how the layout of the buttons, joys and trackball should be. This was the most complicated question I had that wasn't on any of the newsgroups or websites everyone had their own design and theories. My theory was simple, efficient and what would play the most games that I liked. I could always create a second panel or something later If I ran into a game I wanted to play and needed additional hardware for (Tron, Zaxxon, etc.). So with that in mind I started to create my panel. The initial overlay was drawn in Dreamweaver don't ask me why, It just was. I
think I finished it up in Photoshop. I
had already received my buttons, trackball and joys so I knew the
actual measurements of the hardware. I had a friend print this on an
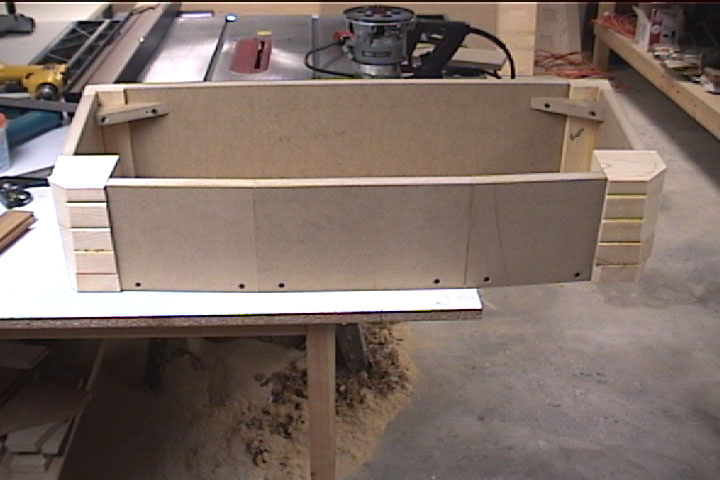
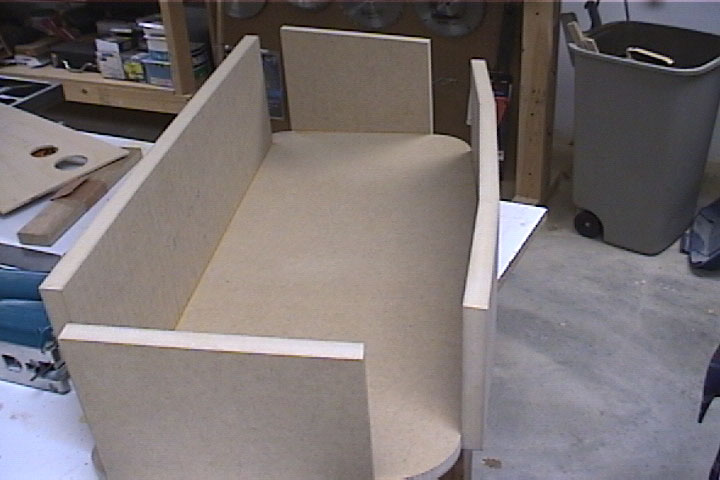
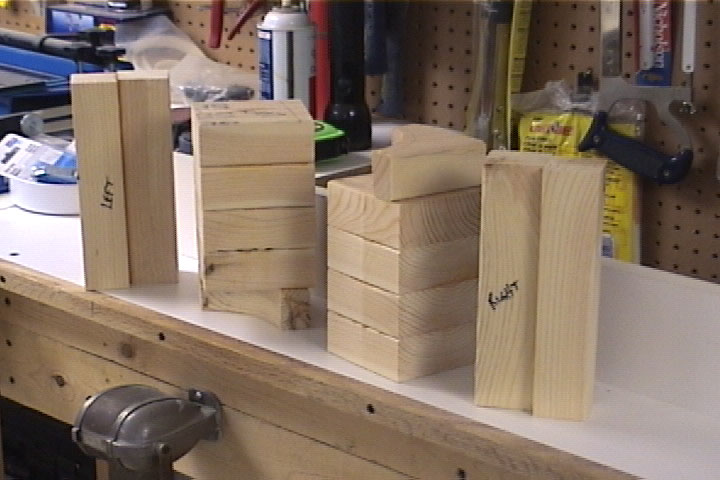
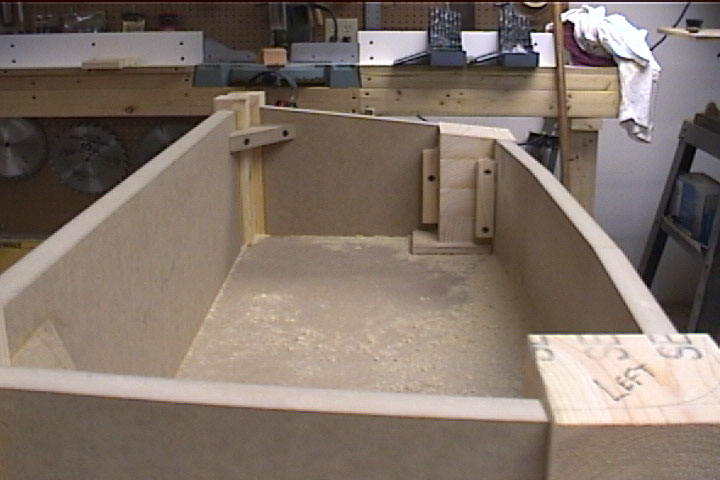
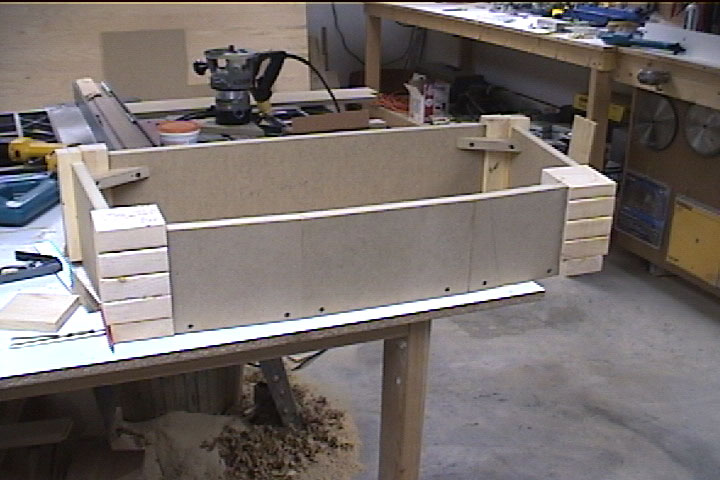
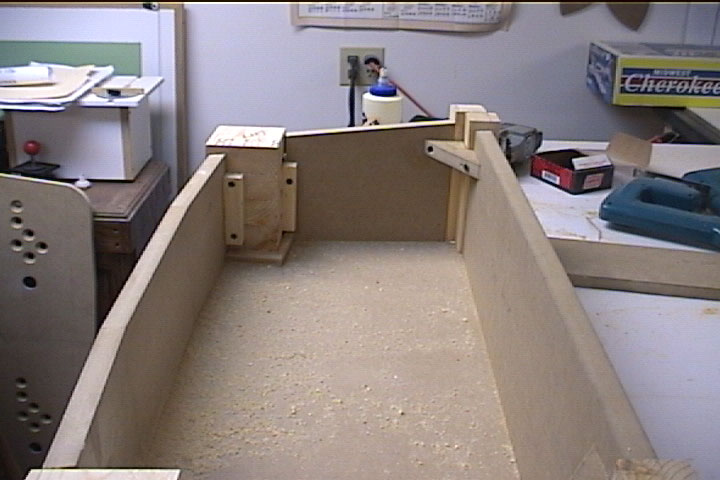
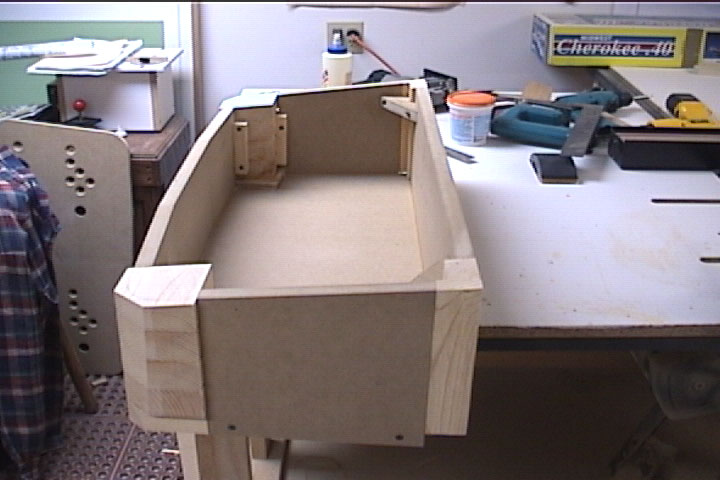
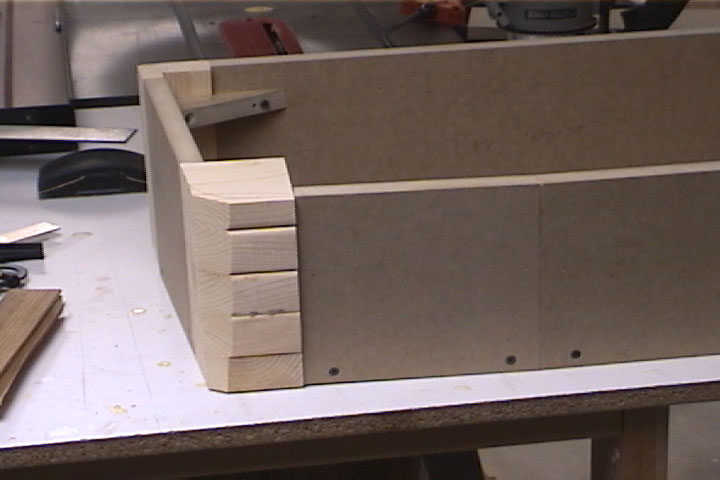
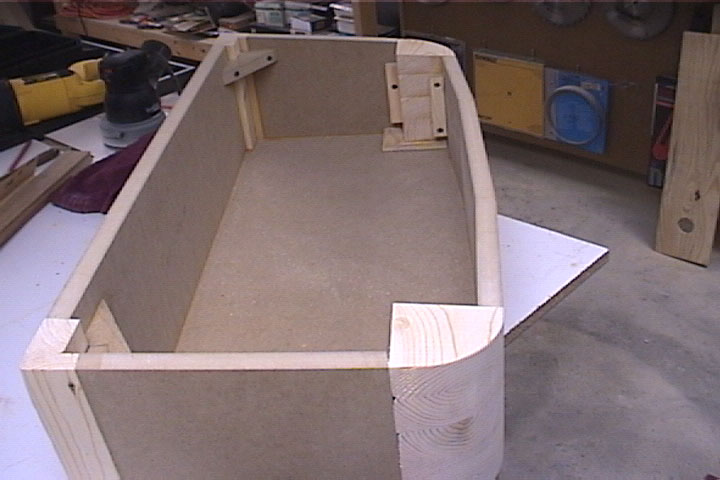
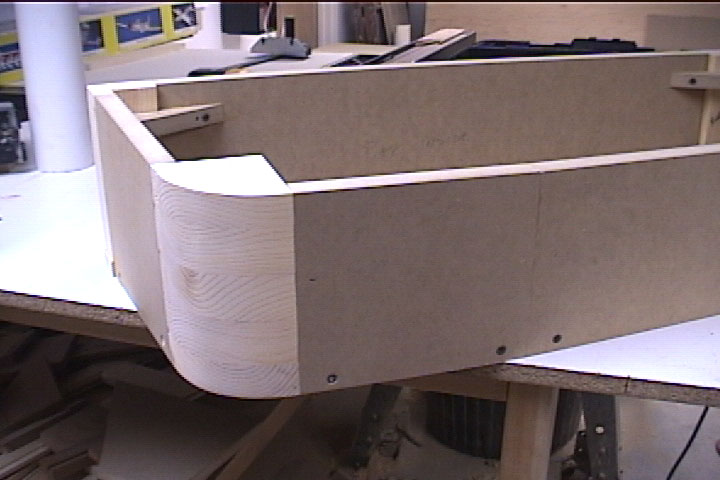
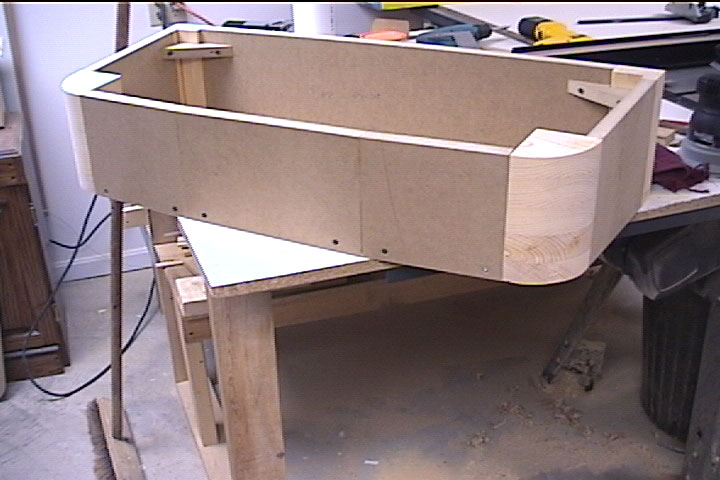
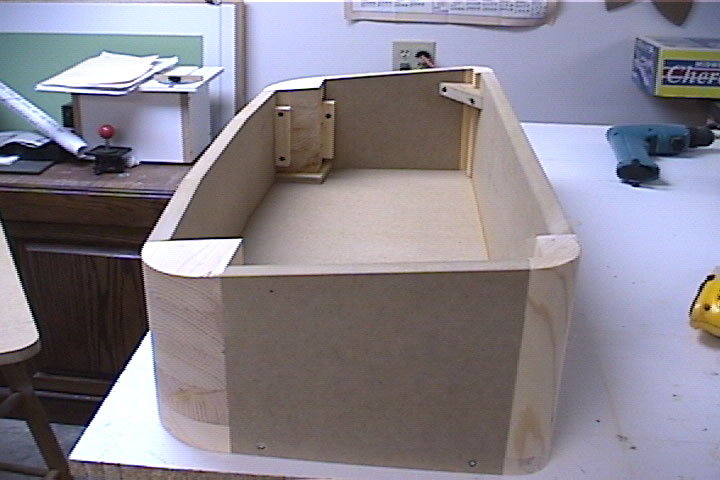
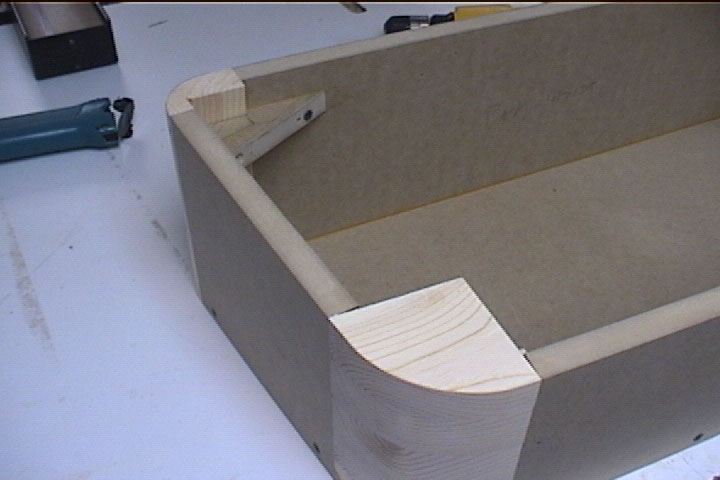
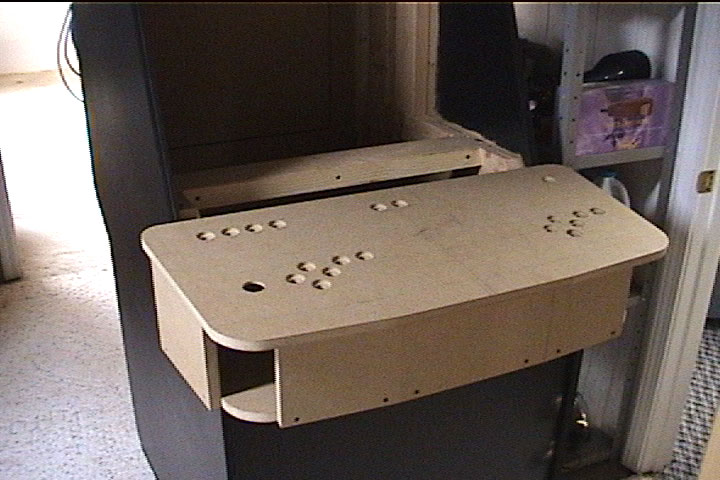
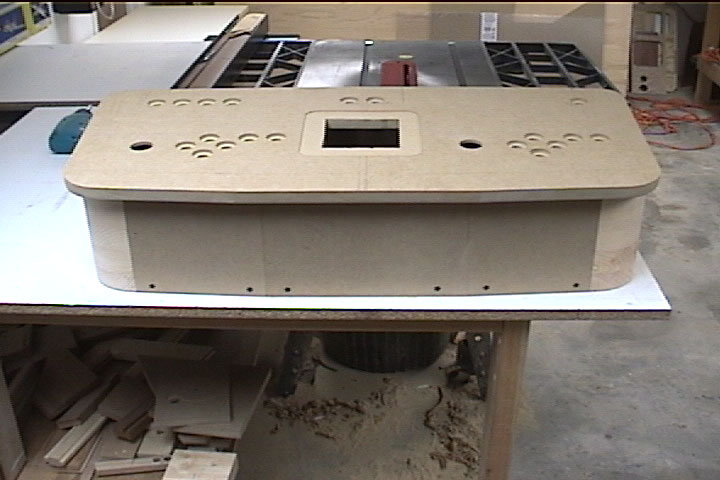
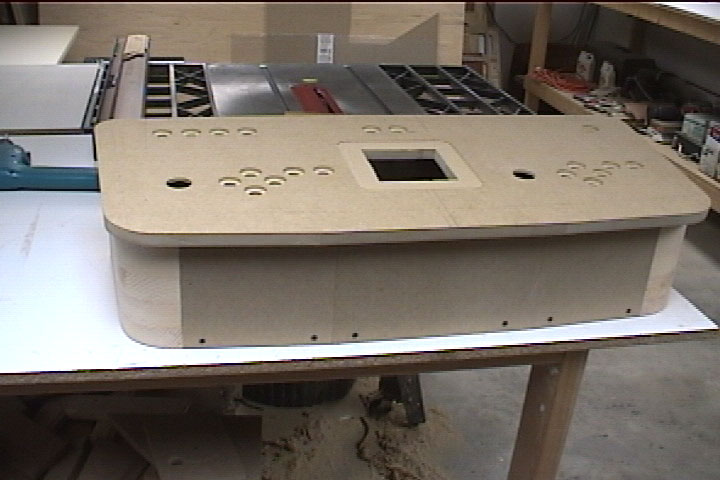
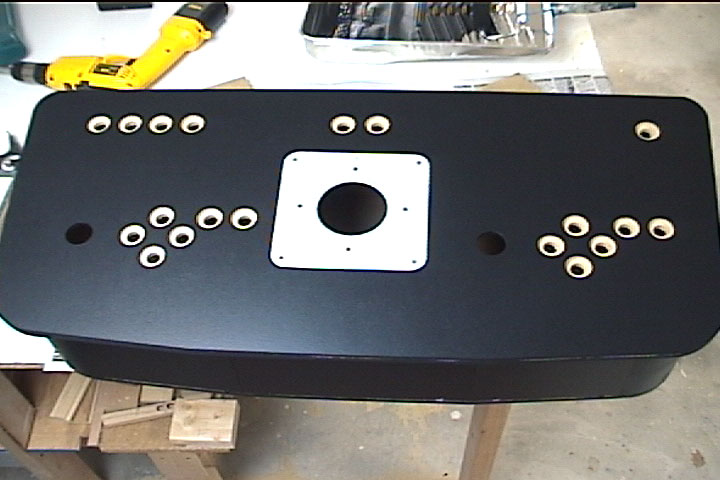
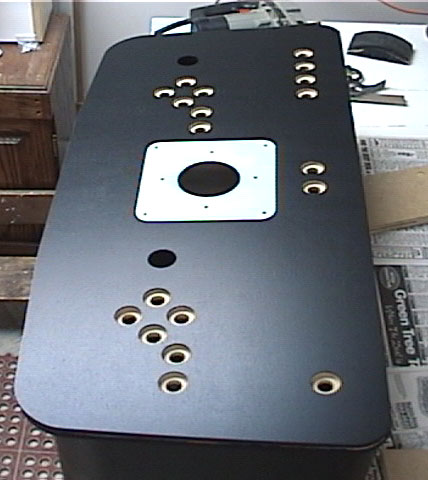
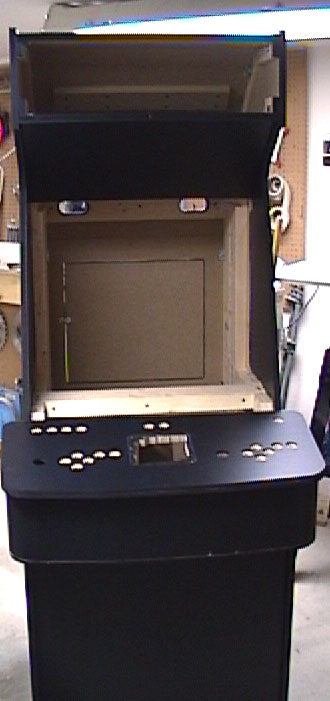
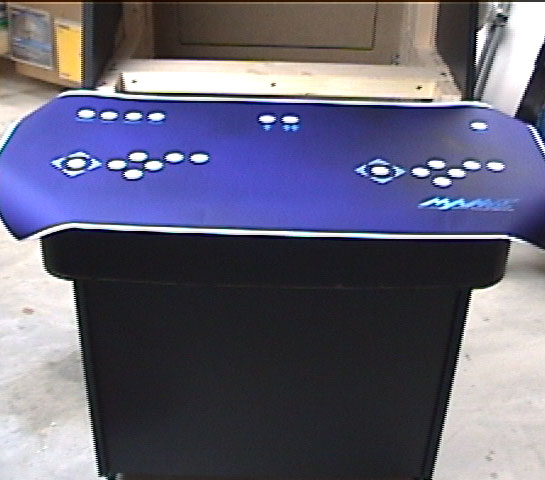
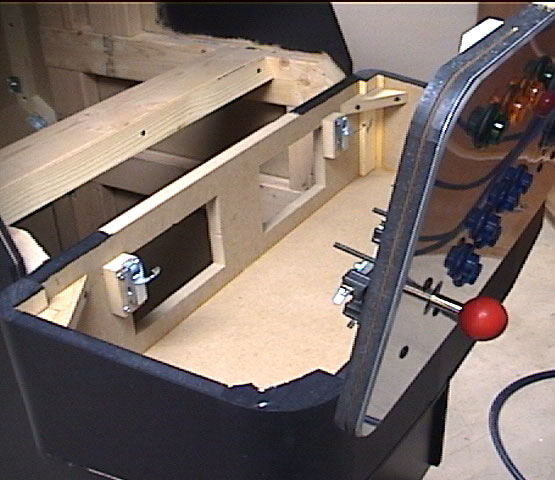
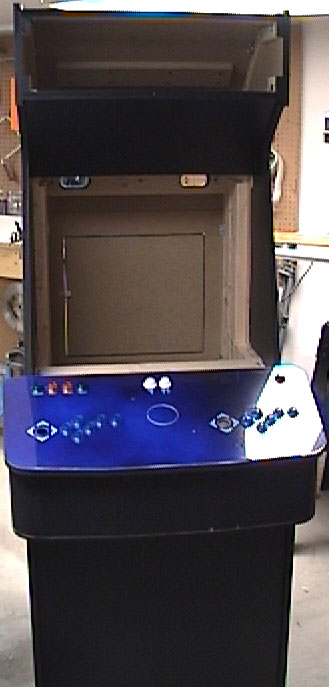
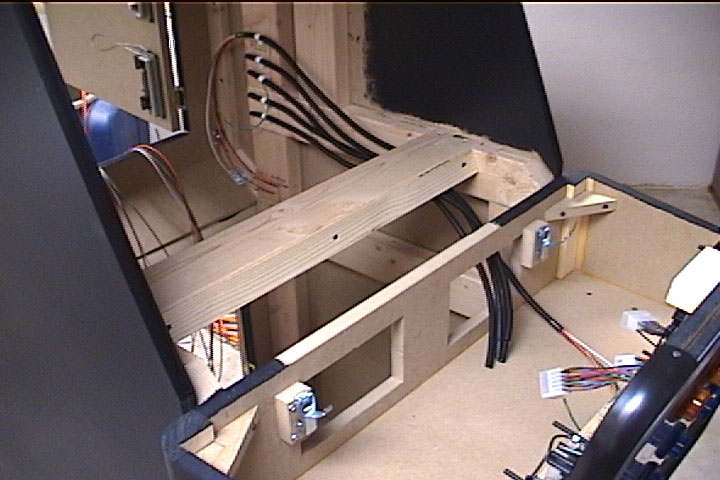
inkjet plotter with photographic paper. Here is an image of the overlay... Unfortunately I'm not a great graphic artist but I tried. I'm still in the learning process and could use some pointers if your willing to help... I wanted a simple, effective and a clean look for the panel. I used leaf type joysticks and leaf type translucent buttons along with a 3" translucent "Blue" Happ's trackball. All the items came from BobRoberts, except the "Blue" leaf type buttons I think I got them from Wico. I would consider Bob Roberts a valuable, honest resource for Arcade parts. The control panel consists of 19 buttons - 6 for game play, 7 for controlling the arcade (ESC, PAUSE, VOLUME, MOVE, ENTER or SELECT, PLAYER 1 and PLAYER 2, The measurements for the height, width and length of the control panel were kind of dictated by the cabinet itself. The width was probably the only factor I could really change after making the majority of the cabinet it would be difficult to change the height and width. I started with the base by cutting the bottom and top. The Top is flush on the back edge and has a lip on the front, I think it's about 1" overhang. I also wanted a rounded front look so I tapered the front a little. Here are some pictures of the construction...
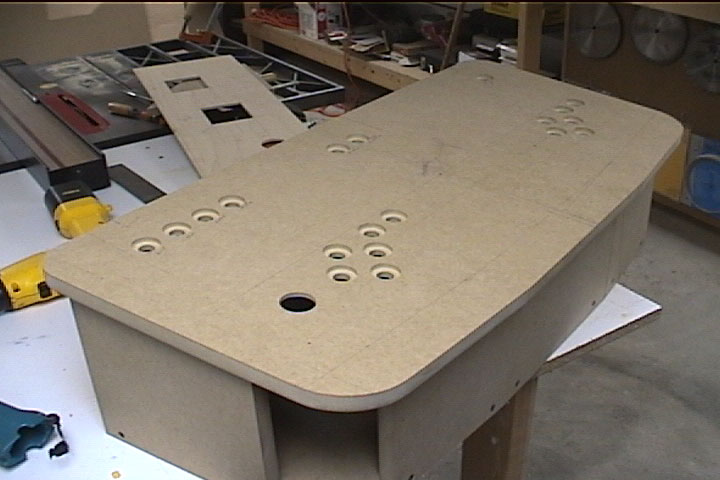
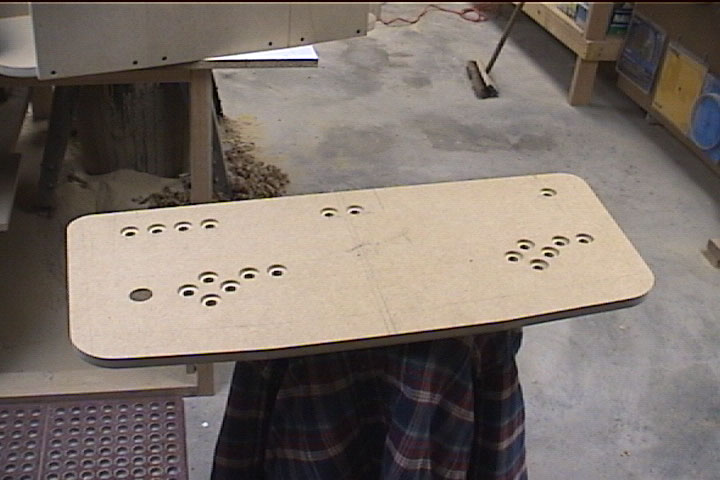
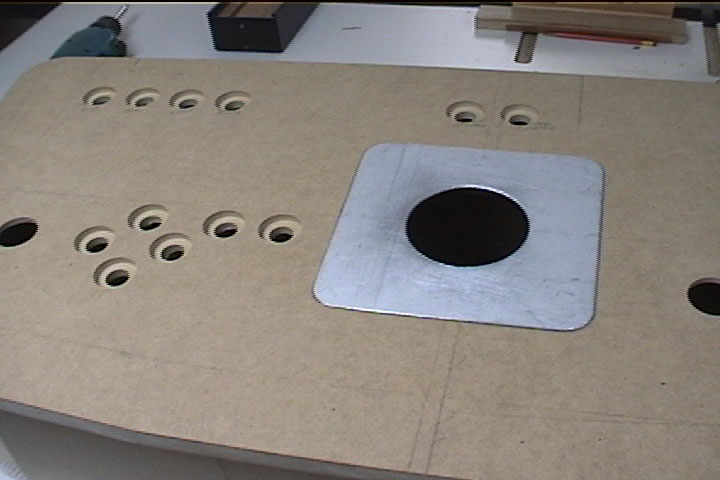
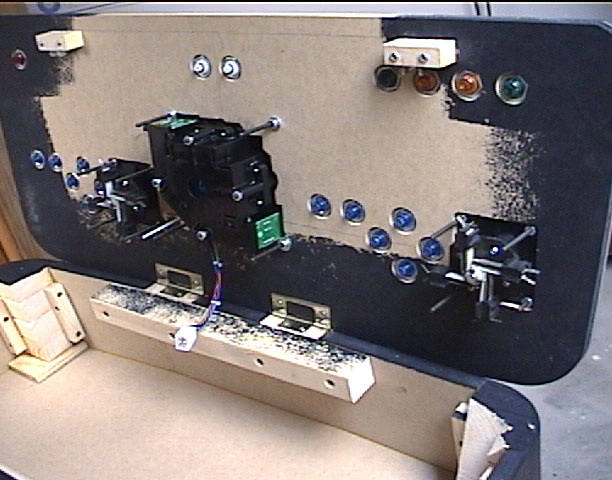
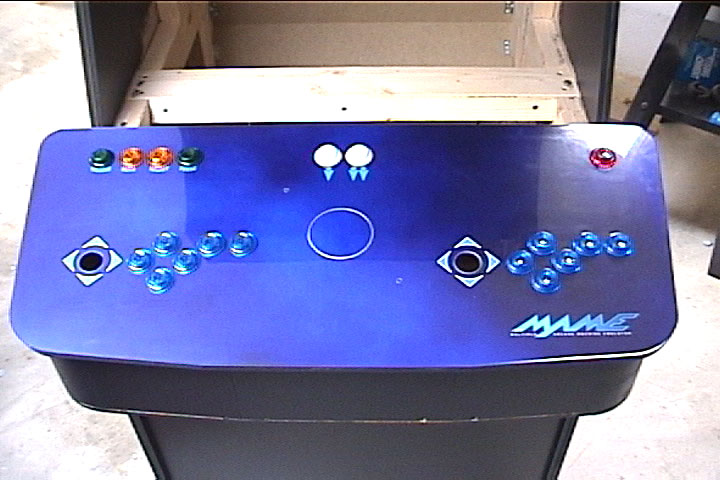
Here is a look at the top of the control panel. Sorry I don't have any "pre" drilled pictures. The big thing here is that when I was manufacturing the top I was also manufacturing a Plexi-glass overlay. In other words I drilled them at the same time so that I knew they would match when I started to install the hardware. I also cut countersunk holes on the backside of the top for the nuts of the buttons.
The trackball mounting plate was made from an aluminum sign that I had (hindsight: it would have been better to buy the mounting plate from Happ's, well worth the $10). I also cut a slot in the top as well as the base of the Control Panel for T-molding. This was a big o'sh** when I was drilling the top. I tried to freehand one of the holes and this is what I got for being in a hurry.
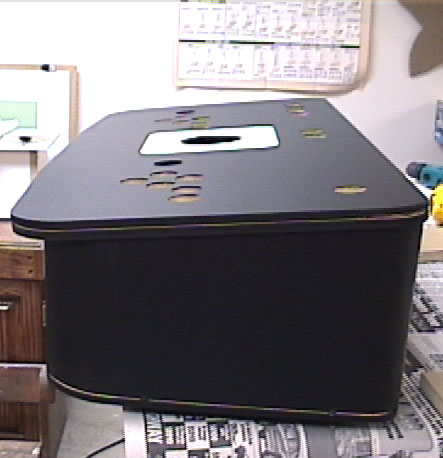
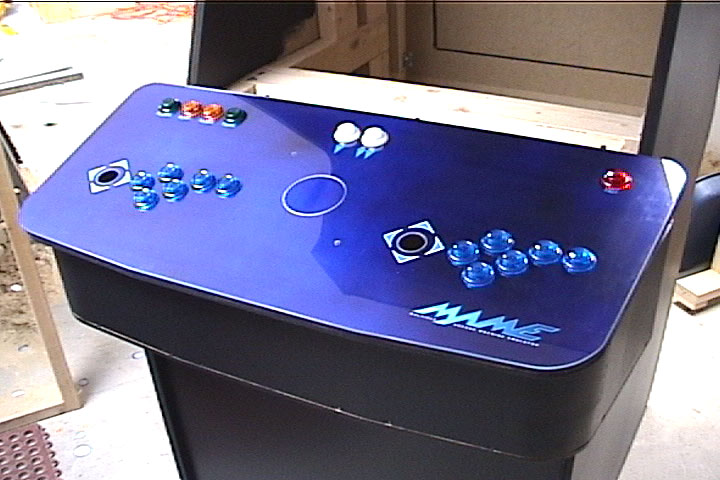
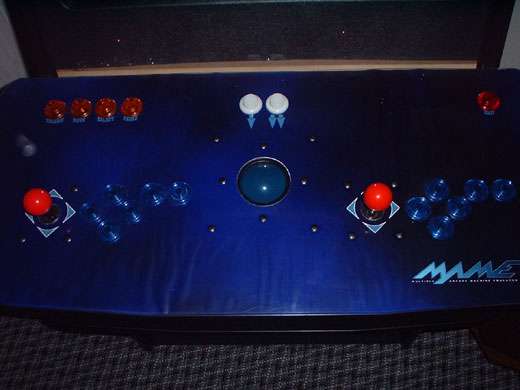
So, after I was done with the drilling of another plexi-glass top and installing the hinges on the underneath of the front edge, I painted the control panel black with some Sears weather beater and a roller the same way I did the cabinet. It actually looks really good.
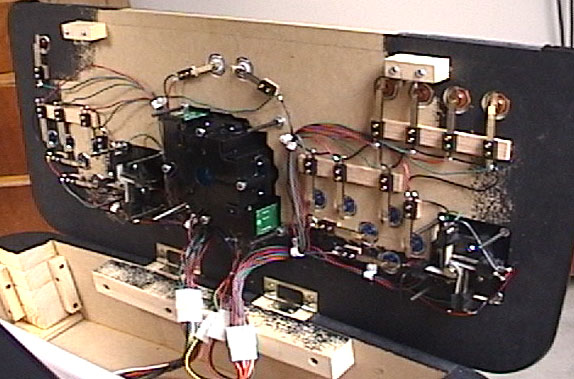
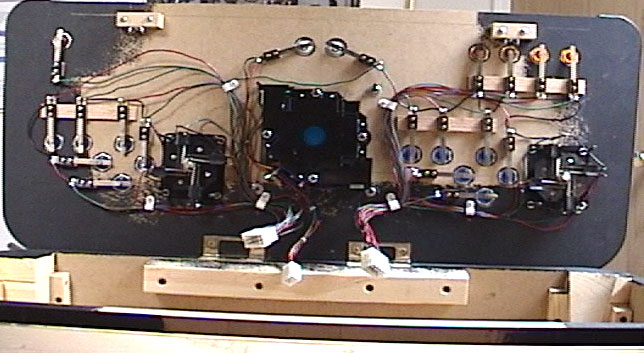
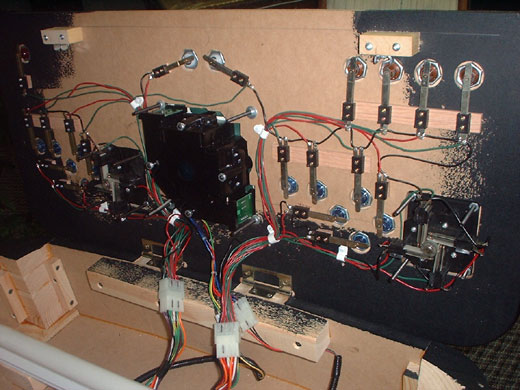
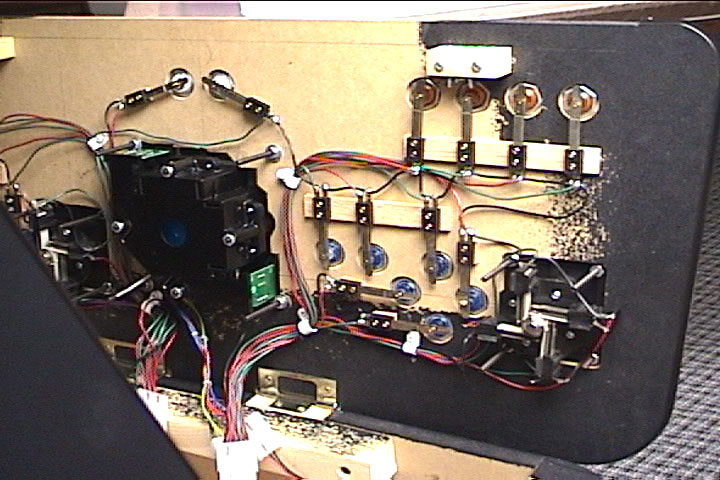
Wiring the controls After I completed the manufacturing of the control panel I needed to install the controls. I glued the overlay graphic down to the top and laid the plexi-glass on top of the graphic. I trimmed the holes and started laying in the buttons, joys and trackball.
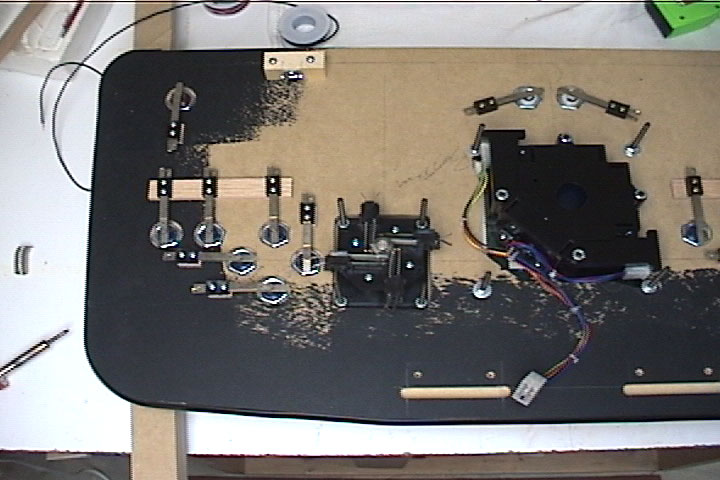
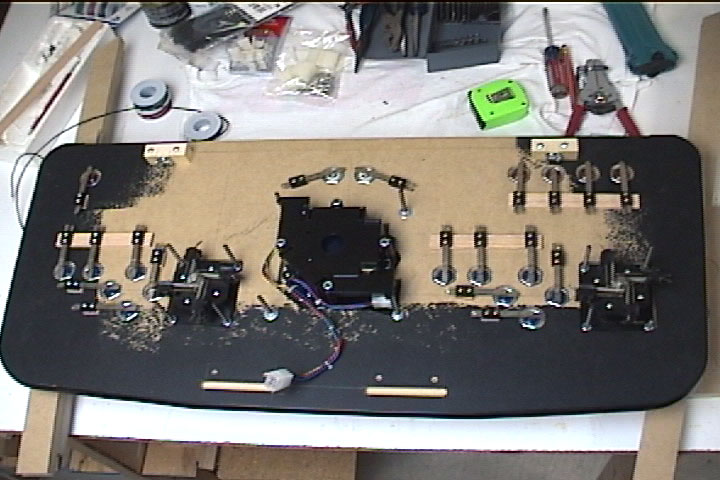
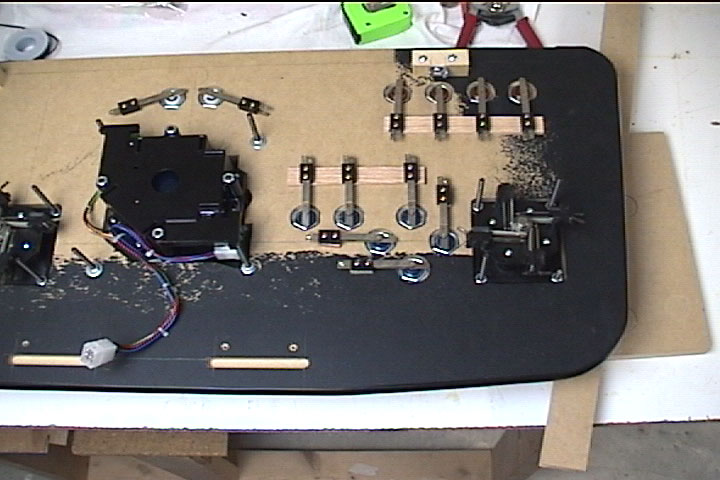
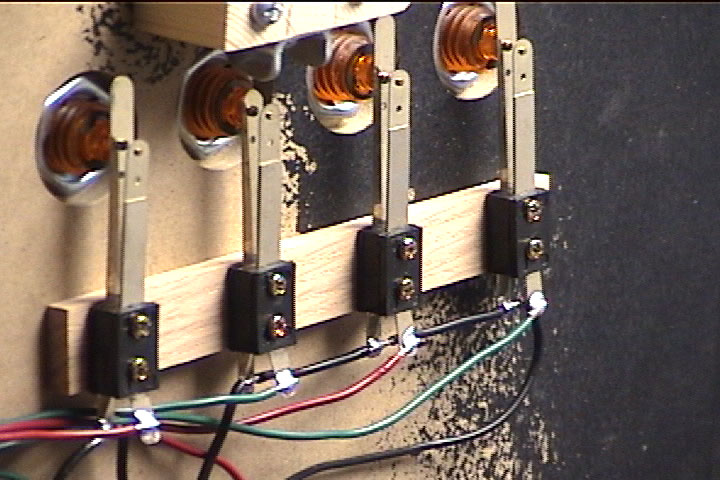
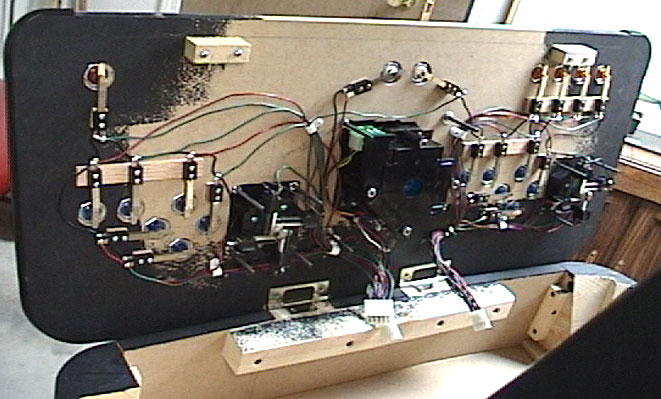
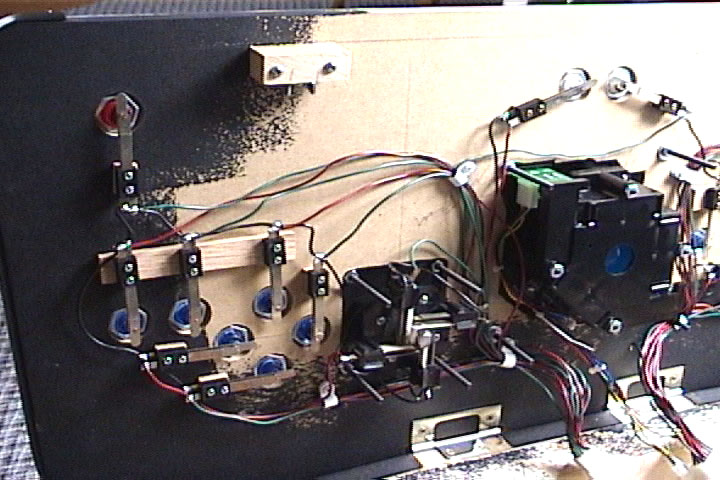
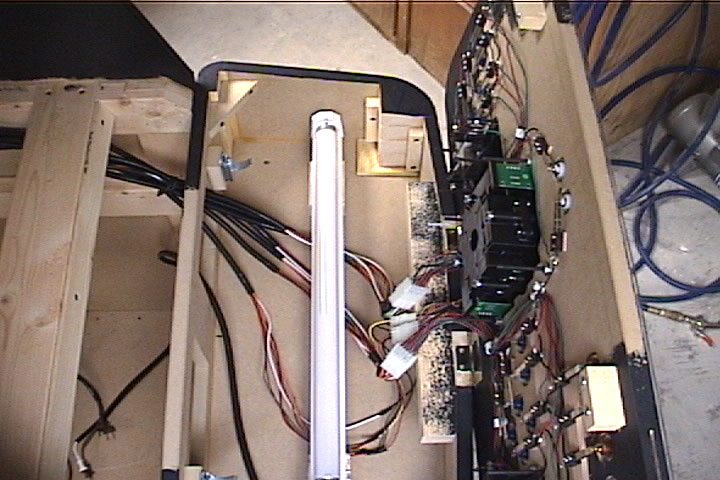
The leaf type buttons needed a little shim when I was assembling the control panel, so I used some thin wood strips. Each button was tied to 2 common ground wires. As you know each button is mapped to a different key so there is 1 wire for each key (1 ground and 1 Key). I also used some Molex? plugs for easy removal of the panel. It's a little wide for standard doors width's. These are just some finished and progress pictures.
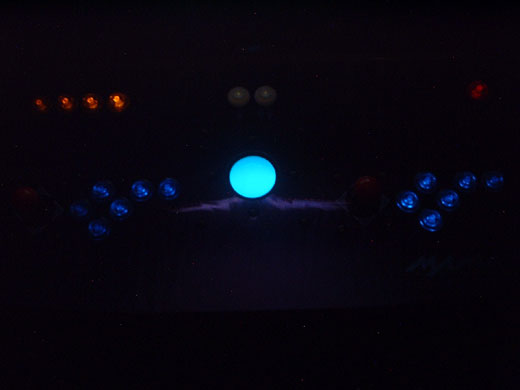
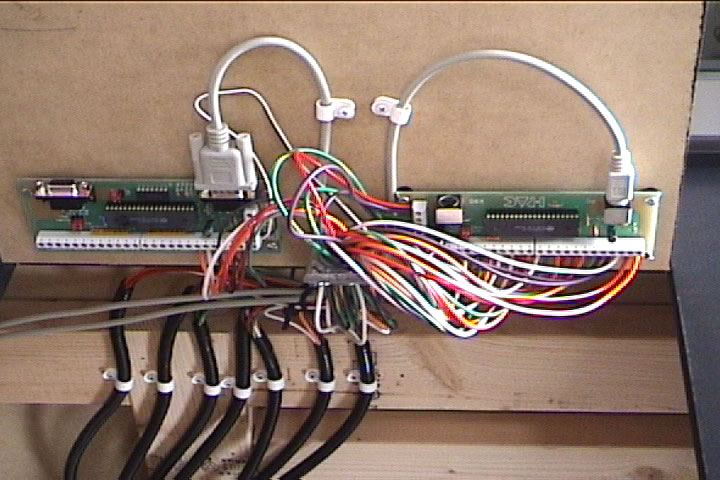
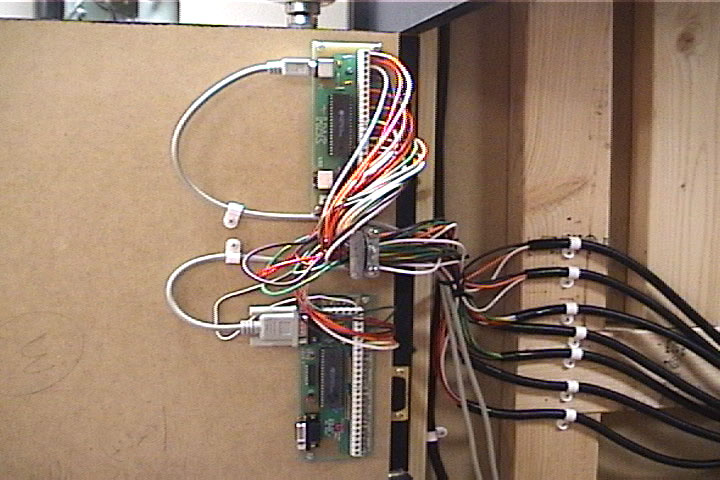
All the wire was pulled through wire loom for looks and ran to the back of the cabinet. I added a fluorescent fixture to do the back-lighting for the control panel and looks great! I have 2 issues: 1) The control panel graphic did not stay stuck to the top 2) The trackball hole is to deep. I will be disassembling them to re-do them. I bought the trackball mounting plate from Happ's to bring the trackball height to normal.
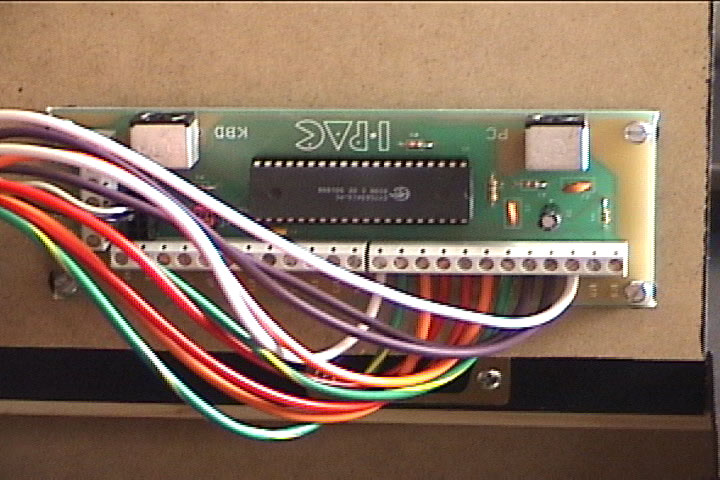
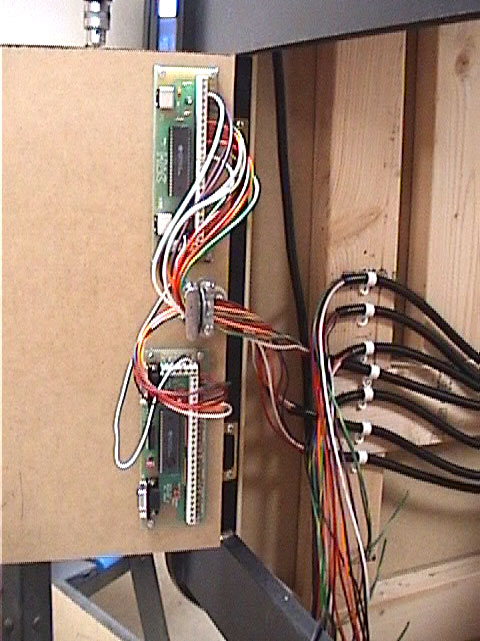
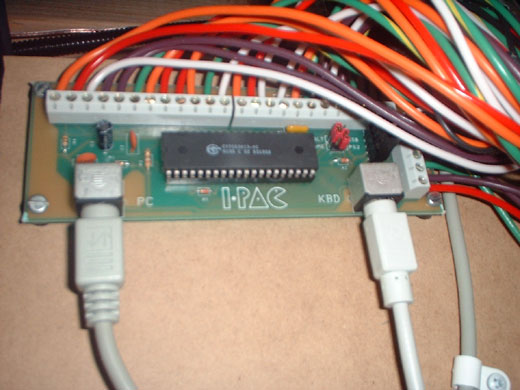
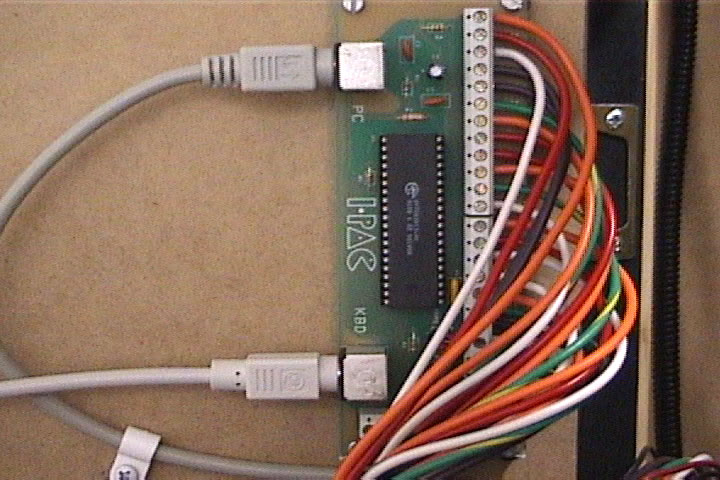
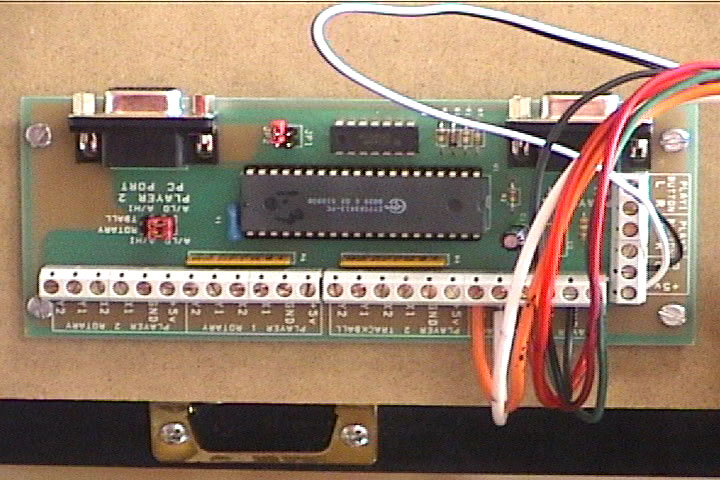
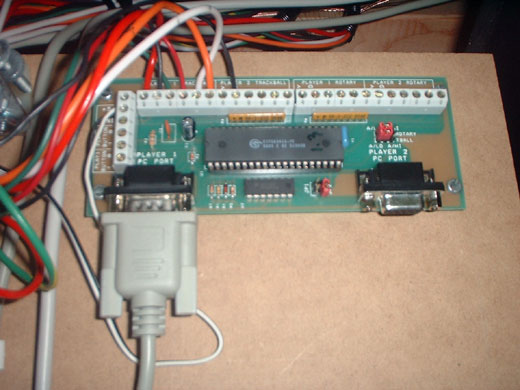
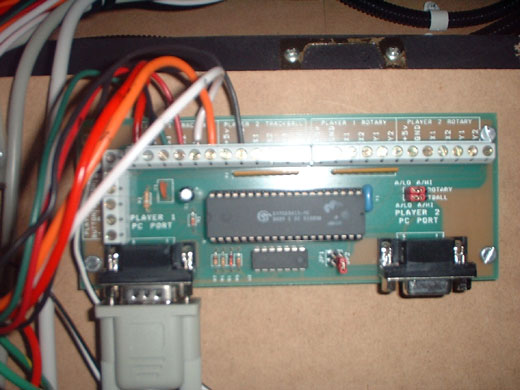
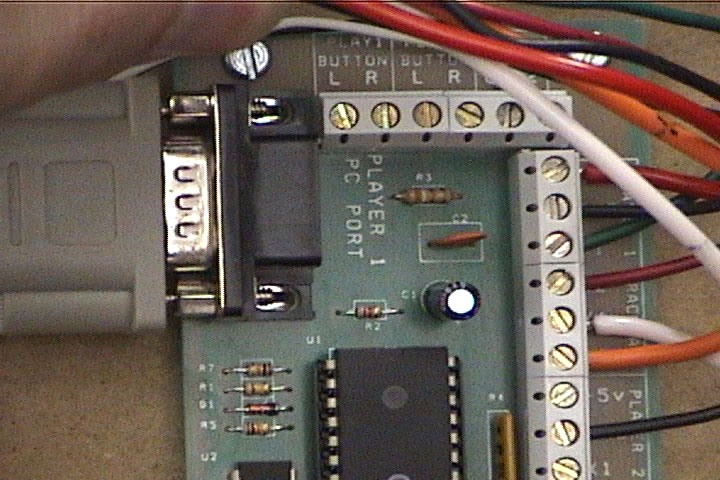
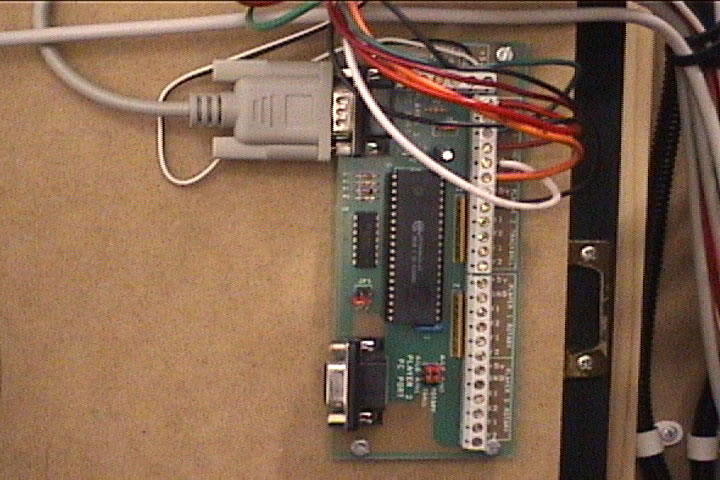
For my cabinet I used the I-PAC and Opti-PAC from Ultimarc or Andy Warne. Excellent product! I would highly recommend them. Set up was a snap, it was easier than I thought and I even re-programmed the unit. Please visit the site for ordering and technical assistance.
next: the COMPUTER !
|
|
|
Last updated: 05/28/03. |


